Sunday, February 21, 2010

Refinishing the Suspension Pieces

When it came time to refinish all the suspension components, I chose to powder coat them. The great thing about powder coating is that you can drop off your parts as dirty as they came off the car, then pick them up a week later with everything looking brand new. The sandblasting process removes everything from the part, including the old paint, rust, and any other corrosion or material. Better yet, it creates a nice surface for the powder to adhere to when the part is heated. The process certainly costs more but well worth it as the finish comes out more durable and even and it’s resistant to the elements.


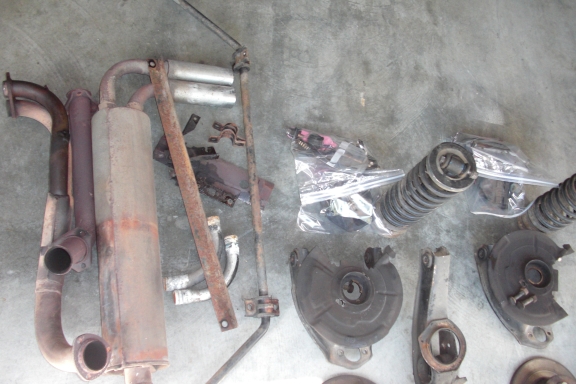
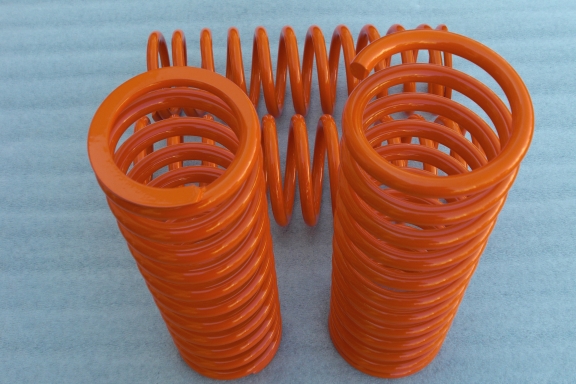
The springs were in excellent shape so I simply had them refinished.


My rear control arms were pretty badly rusted for some reason so there is a little pitting of the metal that shows through the finish. Not the biggest deal as these are never seen anyway.


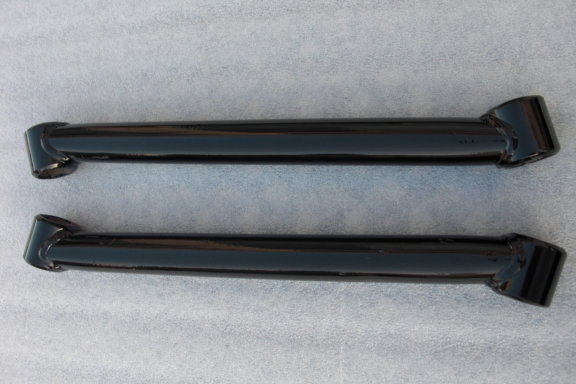
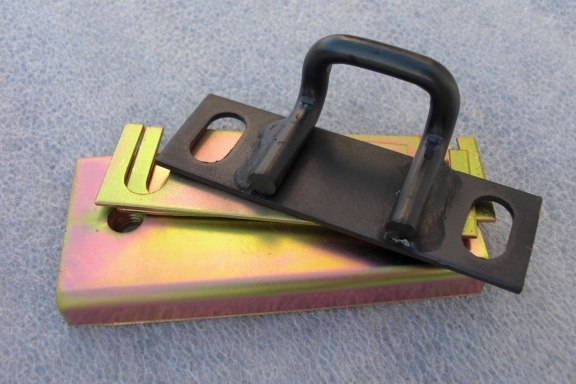
The rear control arms were a little beat up because of their low location on the car. Trying to grind them down or fill the imperfections prior to powder coating would simply be time wasted as I plan to drive the car.


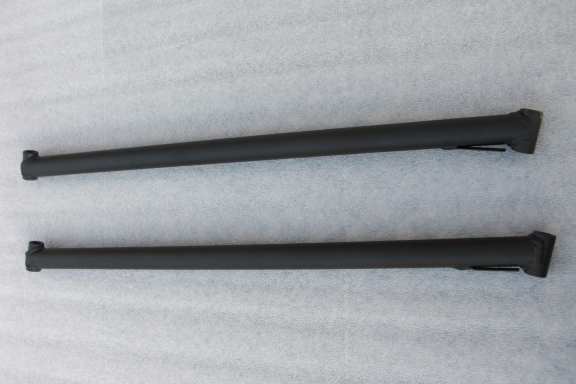
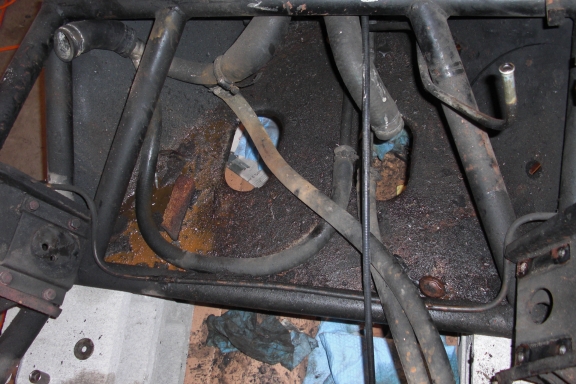
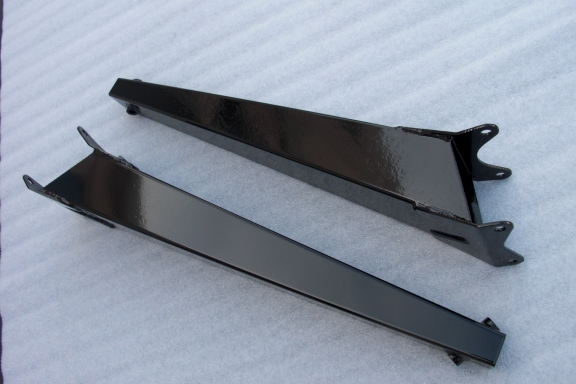
I opted to have the chassis support braces finished in flat black to match the chassis.


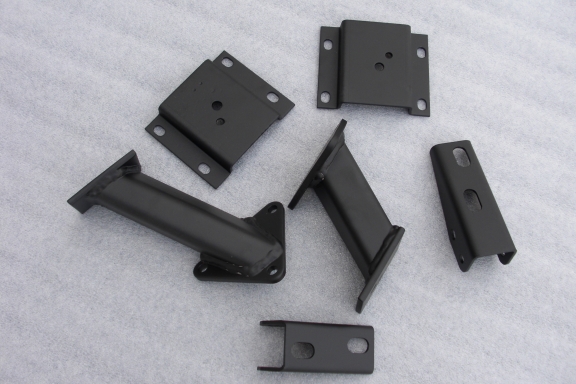
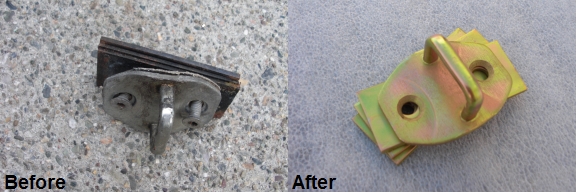
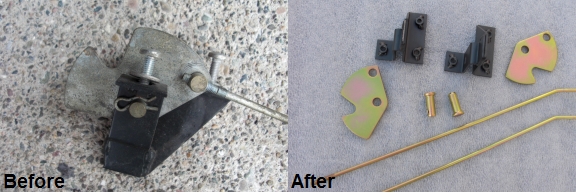
The motor mounts and chassis support brace mounts were also finished in flat black to match the chassis.


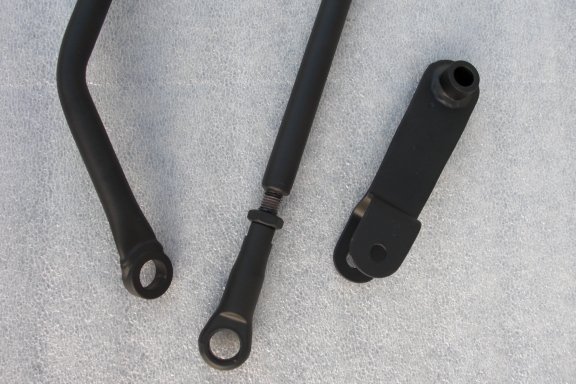
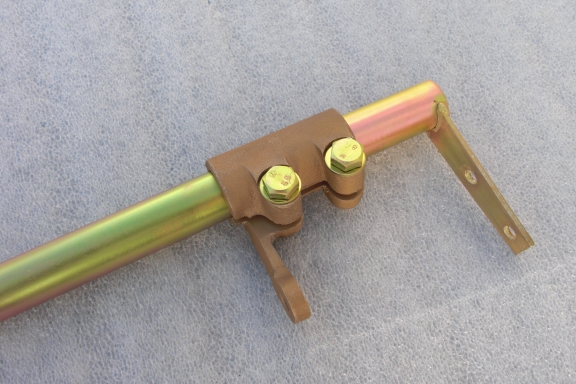
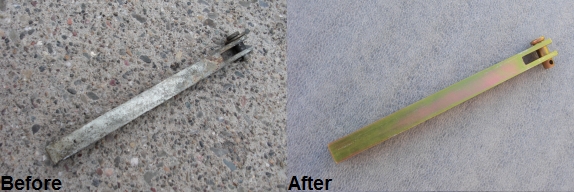
The gear linkage looks like it did when it left the factory. I ordered new bushings from SJ Sports Cars so the connections are tight when it all goes back together.


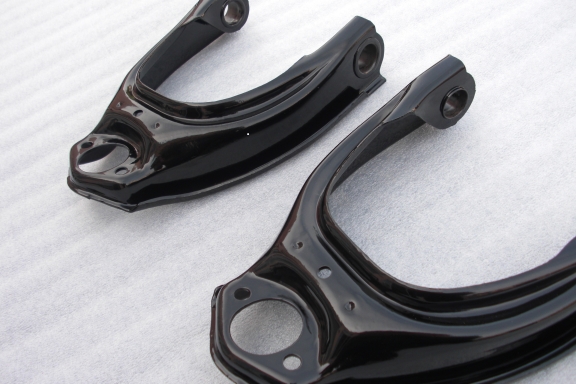
The front control arms were in great shape so it was an easy job sandblasting them down and refinishing to new.


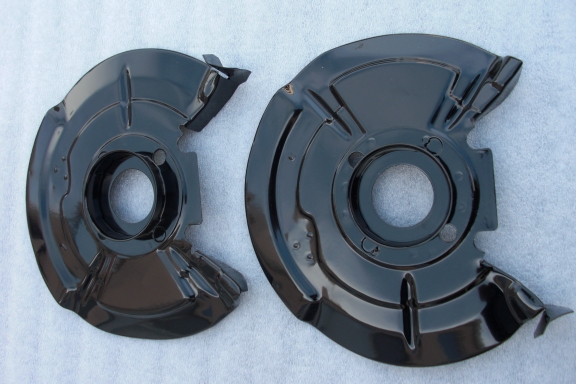
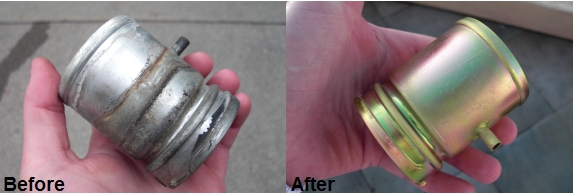
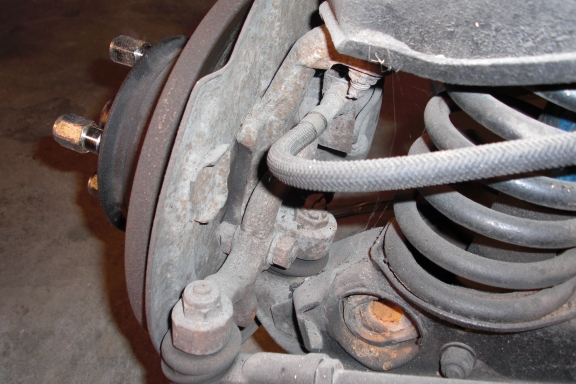
My brake dust covers were pretty well rusted in areas given their exposure to the elements on the road. I’m happy with the way they turned out given the way they looked when they came off the car.

Friday, February 19, 2010

Zinc Plating the Trim Parts

Most of the plated parts on my car were either rusted, corroded, worn, or simply in need of a refinish. Things like door and hood latches, brackets, bolts, calipers, and springs were all great candidates for plating. I chose yellow zinc chromate on most of the parts including the brake calipers, although black oxide was also used on some of the brackets to keep the originality.

I once read that it’s easier and cheaper if you have everything plated in one batch as opposed to doing small runs. Overall that’s advice I didn't follow and I ended up paying too much for two medium size batches. Overall it was about $350 to plate every relevant part on my Esprit. Still not bad considering how everything turned out.

It did take time to prepare the parts, as I opted to use a coarse orbital wire brush (especially the brake calipers) to remove the dirt and rust prior to having everything finished. The plating company said this wasn’t necessary, but I didn’t trust them to clean and polish the parts as thoroughly as some of them needed to be. The thing about plating is that any imperfection in the metal prior to plating will only become more obvious after it’s done. I found that using a very fine orbital wire brush as the final step removed the heavy scratches and gave the metal a smooth and polished texture. The technique worked well and the outcome was excellent.


Sunday, February 14, 2010

Taking the Esprit Apart

Taking the Lotus Esprit down to the chassis requires a tremendous amount of patience and heart. With every piece removed you reveal more rust, dirt, oil, grease, broken parts, electrical faults and problems you know you will have to tackle later on. I consider my car an excellent candidate for a restoration yet still it was a tough job. In all it took me 6 months working on weekends and a few hours most week nights. The key was properly cataloging each part and taking notes, bagging them separately from the others, and taking hundreds of pictures to understand how to put it all back together again. Some of the items took forever including removing the windshield and rear hatch glass, steering u-joint, doors and door internals, and obviously the fiberglass body. There is no glamorous way to describe the process and it's by far the most difficult part of the restoration. I'm glad it's over!


Cinder blocks helped lift the body off the chassis. Not pretty but they were the cheapest alternative.


Starting to disassemble the front suspension after having removed the body.


A great shot of the rolling chassis. Things like the exhaust, shift linkage and all the
brake lines are all tidy and attached to the chassis.


The 30 year old suspension is about to come off and be restored back to new.


The engine was pulled using a standard engine hoist. It's an easy job once the body
has been removed.


I had to clean the engine bay before sending the chassis off to get powder coated. Not
the most enjoyable job!


The interior is the only thing on the car that is not original. It all has to come out
anyway to make way for the original material sourced from England.


One of my favorite features of the S1 Lotus Esprit is the green instrument cluster.
I removed it with care considering that a replacement is almost impossible to find.


God only knows why Lotus glassed plywood into the pod structure. It disentigrated
in my hands as I removed it. I may try to rebuild the pod with new fiberglass or just
get 2 new headlight pods from a later Esprit.


The front of the chassis reveals some surface rust but nothing too bad.


Suspension parts off the car and waiting to be powder coated.