Wednesday, April 28, 2010

Rebuilding the Lotus Esprit Rear Brake Calipers

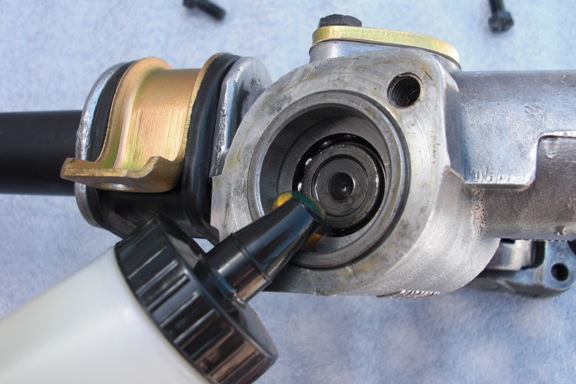
Because the rear calipers on the Lotus Esprit are in the direct path of any oil leaving the engine and gearbox (combined with the brake dust and dirt from the road), they tend to experience a significant amount of wear very quickly. And because of the constant heat cycles, it seems like the dirt and oil is literally “baked” onto the calipers which makes them a nightmare to restore. In all it took several hours with a wire brush just to clean the calipers and all the other pieces (i.e. emergency brake unit, return spring, bolts, and rattle plate) to be in a suitable condition for plating. The inside of the caliper was in bad shape too, with the piston bore being full of dirt and other deposits. I was amazed that after a little cleaning, my pistons were actually the only parts in good shape. Aside from that, obtaining all the replacement parts like the piston seals, sliding pins and the brake lines were easy. Once I picked up the calipers from the plating company, I was able to reassemble each unit in about 30 minutes.


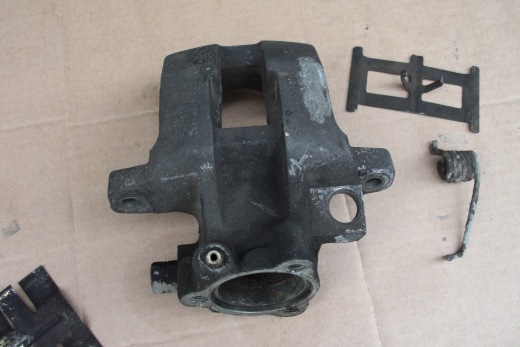
What the rear brake caliper looked like after pulling it from the car.


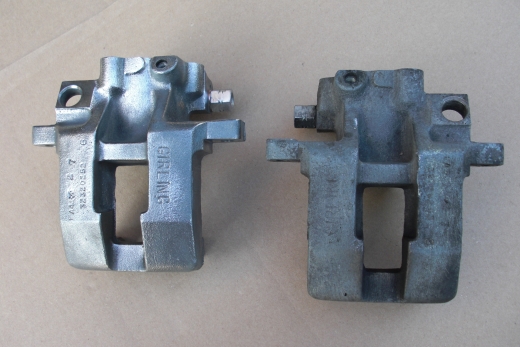
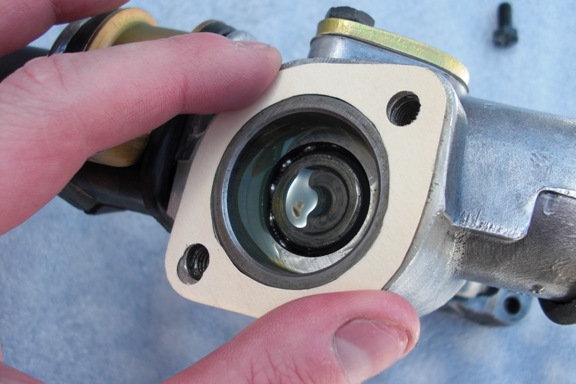
A nice before and after shot of the caliper after a good cleaning.


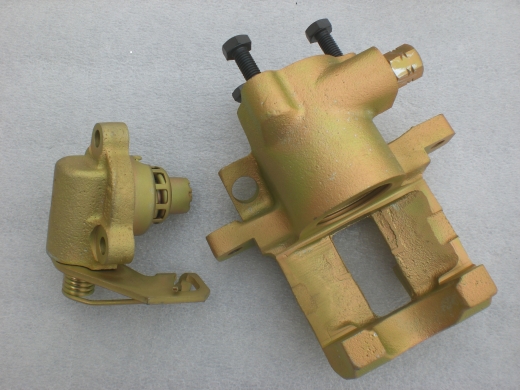
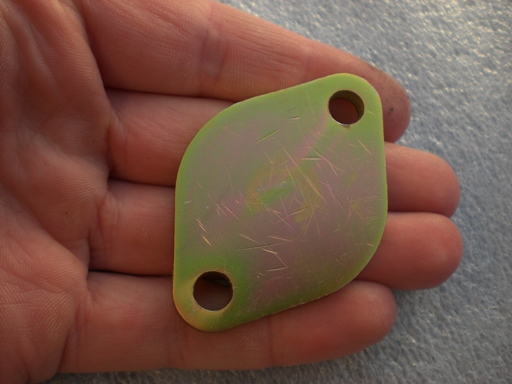
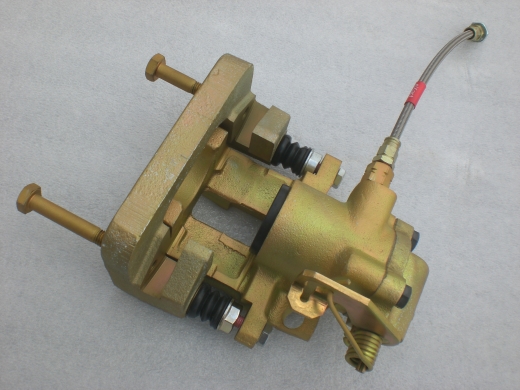
The parts looking much better after being plated in yellow zinc chromate.


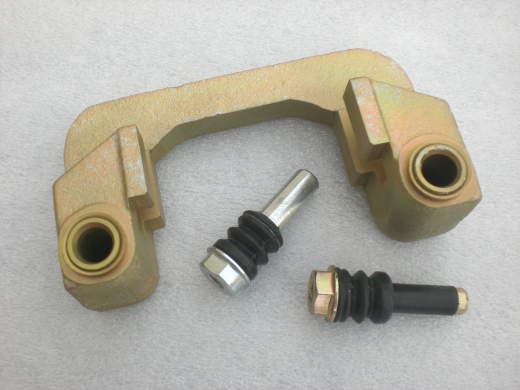
The new sliding pins and rubber boots replace the old ones.


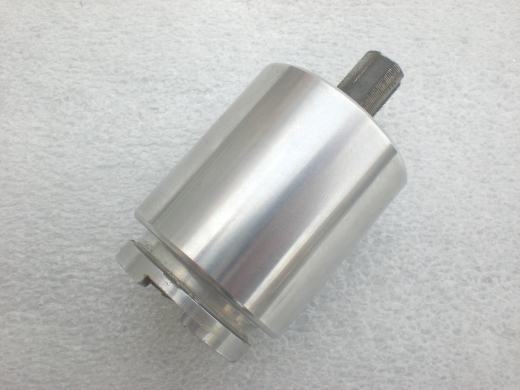
The old pistons were in perfect condition so I cleaned them up and kept them.


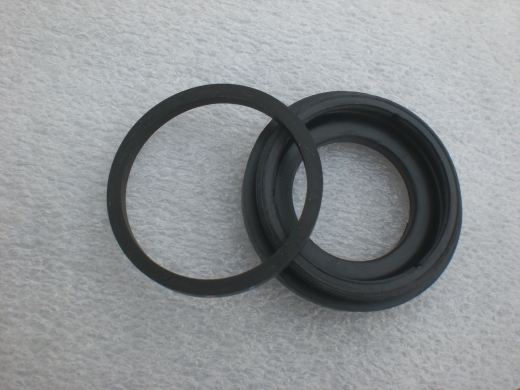
New Lotus seal kit ready to go in.


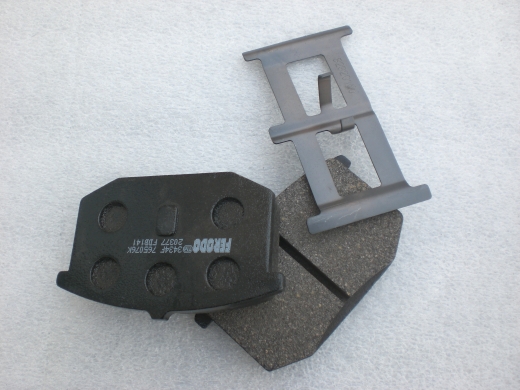
The new set of brake pads and anti-rattle plate.


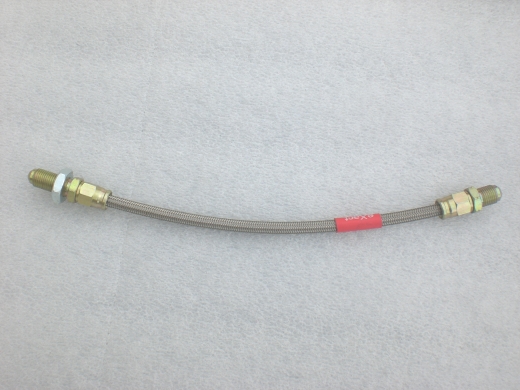
Braided stainless steel brake lines will replace the original Lotus units.
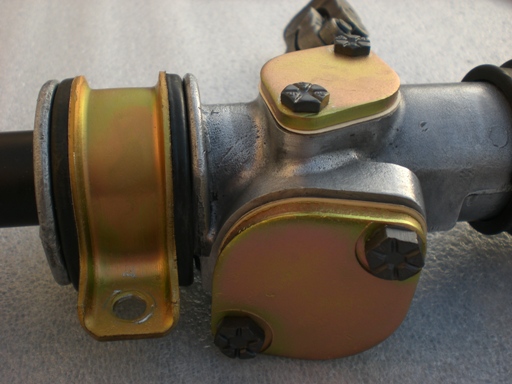

Job done!

Sunday, April 18, 2010

Refurbishing the Lotus Esprit Steering Rack

Most of the feedback I’ve heard from S1 Lotus Esprit owners is to pay close attention to the steering rack. It’s easy for them to rust inside if the dust boots are compromised, and the UJ connector to the steering column can also freeze. Many owners complain about play in the rack and apparently it’s not uncommon for an Esprit owner to go through a handful of UJs and even complete steering racks over decades of normal driving.

I heeded the warnings and made sure I inspected the rack thoroughly prior to fitting new boots and refinishing the exterior. I was lucky as the old boots were intact and the UJ connector was in perfect condition (no deep rust or play whatsoever). The rack internals looked new and absent of rust, and when I drained the oil it was clean.

The only issue I had with my rack was a leak from both of the small inspection covers. The covers were corroded and so were the half dozen metal adjustment shims (paper thin) which accompany them. The rust seemed to be enough to compromise the seal between the rack and cover, so I spent a few hours cleaning everything, and then I cut new paper gaskets from a yellow manila folder. This was a bad idea though because the oil saturated the paper and then passed right through it, leaking all over my garage floor. In the end I just ditched the paper gaskets and sealed down each shim with light gasket sealer. It was a messy job but the rack is never going to leak again.

After refinishing the rack with new paint, I re-fitted new rubber boots and locked them down with zip ties. the trick with the zip ties is to ensure the inside of the boot and the surface of the rack is free of any oil. Otherwise the boot is going to slip off and leak. I had the inspection covers zinc plated so they won’t rust again, and then filled the rack with 90 weight gear oil. There isn't a reference as to how much you should put in, so I filled the rack with what I thought is a good amount. The last step was to connect the new track rod ends and leave them loose so I can adjust the alignment later on. Job done!