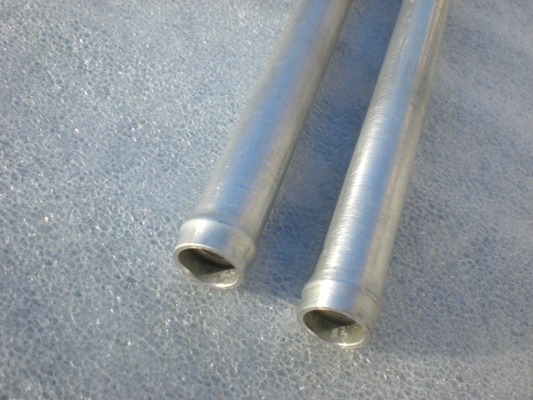
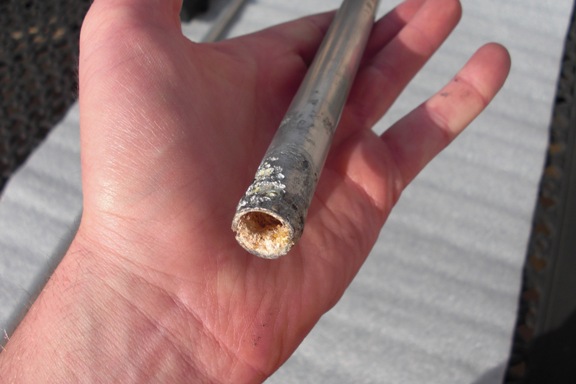
The S1 Lotus Esprit has a series of aluminum heater pipes that run through the chassis. I can imagine these being the very first bits to be mounted to the Esprit at the factory given how impossible they are to fit when virtually anything else is bolted to the car. To make a long story short, the aluminum pipes on my car were a complete disaster and needed to be replaced (corroded, pinholes everywhere, rust and calcium deposits, etc.).
I picked up new aluminum pipes and made sure the wall thickness was at least as wide as the old ones. The heater pipes are straight so they didn't require any bending, but I still need to flare the ends to ensure the rubber hoses seal properly.
The picture says it all. Time to replace!
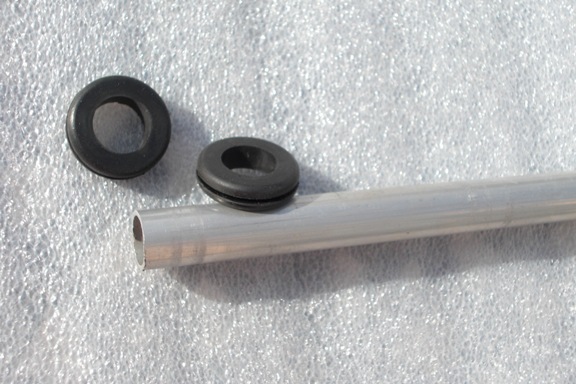
The new pipes are a standard 5/8 size so locating those were easy. The pipes still
need to be beaded at this point to prevent leaking once the rubber hoses are attached.
The new pipes after beading, now ready to install!
Sunday, March 28, 2010
Re-Fabricating the Lotus Esprit Steering Rack Mounts
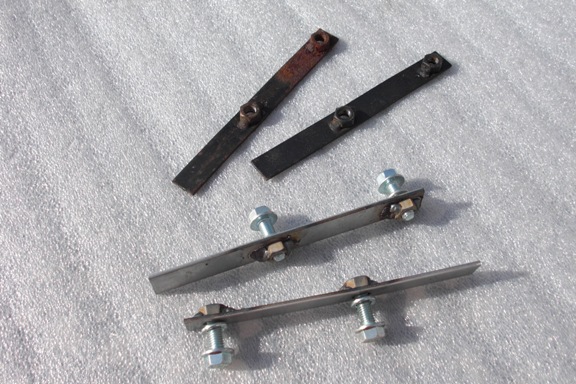
Anyone restoring an S1 Lotus Esprit should pay close attention to the steering rack mounts. The mounts slide into a groove in the chassis and have two nuts welded in place for the steering rack bolts to secure through. With age and the constant pull of the rack in either direction is enough to put significant stress on the mounts and the hardware. My bolts/nuts were completely stripped and worn down so the entire assembly needed to be re-fabricated.
I picked up the correct width angle bar and cut it to the right length, then purchased the hardware (grade 10.9), and welded the nuts in place. The grooves in the chassis for the mounts allows for a lot of adjustment play so the location of the welded nuts don't have to be perfect.
The new fabricated steering rack mounts use a more stout angle bar than the old
ones and I'm hoping the 10.9 hardware won't end up failing like the originals.
Sunday, March 21, 2010
Rebuilding the Front Hubs, Replacing the Wheel Bearings
30 years of corrosion and rust meant that the brake hubs needed to be sand blasted and re-finished. I kept the bearing surfaces covered during the process and they turned out great. The brake disks on my Esprit were virtually brand new (almost the maximum disk width) but I didn't want to put the old rusted units back on a fully restored car. The brake disks and wheel hub bearings were cheap and available in the United States, which saved me a little money.
I also needed to replace the bolts that hold the brake disk to the wheel hub, so I picked those up at a local store that sells grade 10.9 metric fasteners. I opted for hex bolts instead of socket screws as the sockets stripped easily when removing the old ones.
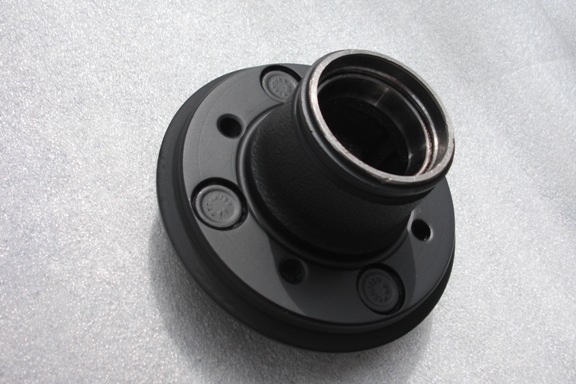
The freshly powder coated hub, ready for wheel bearings.
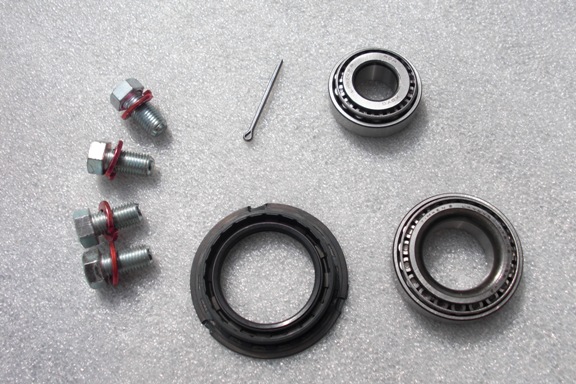
The wheel bearings and the dust seal come as one kit and are one of the few parts
for the S1 Esprit available in the United States.
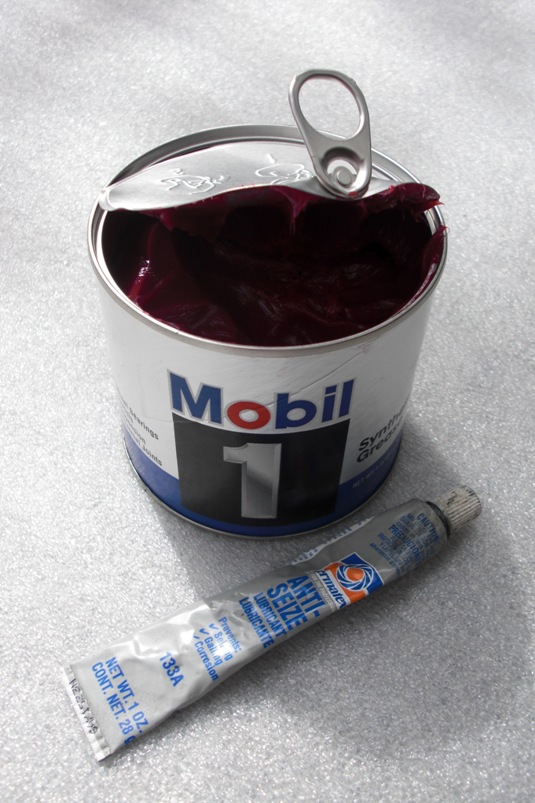
I used Mobil One bearing grease to pack the bearings. Anti-seaze was used
on the bolts so they don't freeze up due to exposure to the elements and the
constant heat cycles.
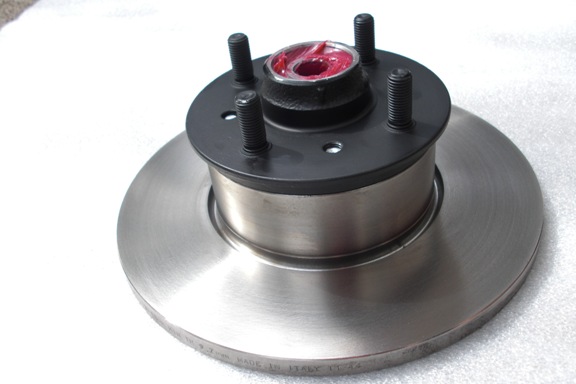
The finished front hub and brake disk, ready to mount. Job done!
Subscribe to:
Posts (Atom)