The old oil cooler lines in my Esprit were upgraded with new ones. It took me a while to figure out the thread pattern of the oil cooler and oil inlet on the engine. They are not AN, rather 5/8 BSP (hopefully that helps someone doing the same thing!). I purchased a set of four 90 degree fittings, oetiker clamps and enough 5/8 ID hose for the job. In all it took about 30 minutes to measure, cut, and set everything up. I purchased the lines and fittings at Pegasus, which is a US based automotive racing supply Web store.
The old oil cooler assembly was fine but pretty badly deteriorated. Time to renew!
The new oil cooler hose, 5/8 ID and good for 250 PSI.
The new fittings weren't cheap but I was limited in options to replace the old ones.
My existing oil cooler was in excellent shape so I had it chemically cleaned and refinished.
After having assembled everything, the oil cooler and oil lines are looking like new again.
I'm opted for the Mann filter, part number W920/17.
The oil filter adapter after having bead blasted the aluminum casting and replaced the rubber gasket.
Monday, February 7, 2011
Sunday, February 6, 2011
Rebuilding the Lotus Esprit Dellorto DHLA Carburetors
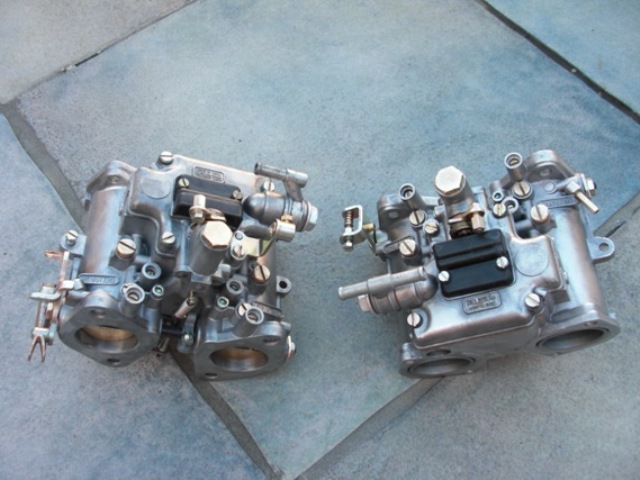
The Dellorto DHLA 45 carburetors used on the Lotus Esprit S1 are a vibrant component of the engine seen through the rear decklid glass. I spent a lot of time on these to make sure they looked like new in addition to getting them to work properly. After taking everything apart, all of the internals were heavily varnished so it was essential to clean them multiple times to remove the deposits. From there, the rebuild process was easy once I had all of the parts (new rebuild kits, new idle jets, pump jets, main jets, and air correctors). I had all of the steel parts plated to restore their original appearance, purchased a set of Misab sealing plates, as well as a new intake manifold gasket so I could bolt everything back up.
The job wasn’t difficult, but it did require a lot of patience and some research to make sure I was purchasing the correct size jets (I had no idea if the old ones were correct or not), and to polish all of the parts prior to plating so they came out perfect.
The Dellorto DHLA 45 carburetors after having been removed from the car.
The rebuilt carburetors minus the intake horns, some linkage, and the intake manifold.
The complete Dellorto DHLA 45 setup ready to mount to the engine.
Refurbishing the Lotus 907 Inlet Manifold
The inlet manifold on my S1 Esprit had been welded around two of the intake tubes. I don’t know why it was welded (no signs of over porting or machining inside), but it wasn’t a clean repair so I decided to hunt down another one. The new inlet manifold I found on eBay was configured differently so I had to machine one end of the water line to anchor in the aluminum plug. I walnut blasted the old casting to restore the original appearance, and then it was ready to mount to the engine.
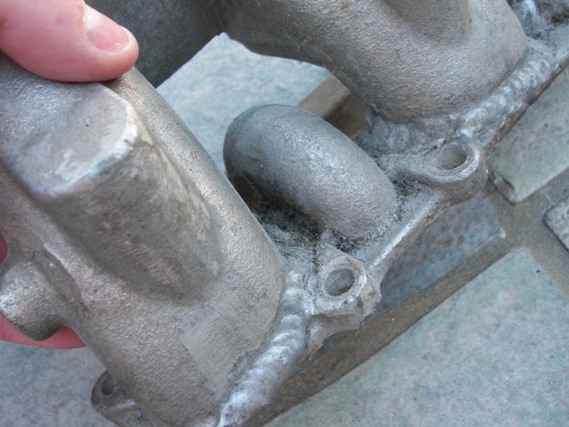
These welds on my old inlet manifold were not supposed to be there. They extended
into the inner part of the intake so something bad had happened in its previous life.
Time to replace!
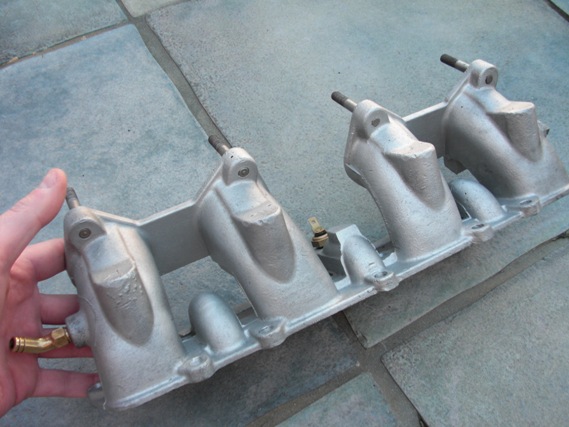
The new inlet manifold, bead blasted, cleaned and ready to mount to the engine.
These welds on my old inlet manifold were not supposed to be there. They extended
into the inner part of the intake so something bad had happened in its previous life.
Time to replace!
The new inlet manifold, bead blasted, cleaned and ready to mount to the engine.
Upgrading the S1 Lotus Esprit Engine Ancillaries
Since I never started or drove my S1 Esprit prior to taking it all apart, I was unsure if the alternator or starter even worked. I decided to upgrade the old Lucas units with new ones. The gear reduction starter and alternator are both smaller, lighter and should be more reliable. The alternator required minor machining to fit and the belt needed to be longer due to the pulley being a larger diameter. Otherwise, it seems to be a worthwhile upgrade while the car is at this stage.
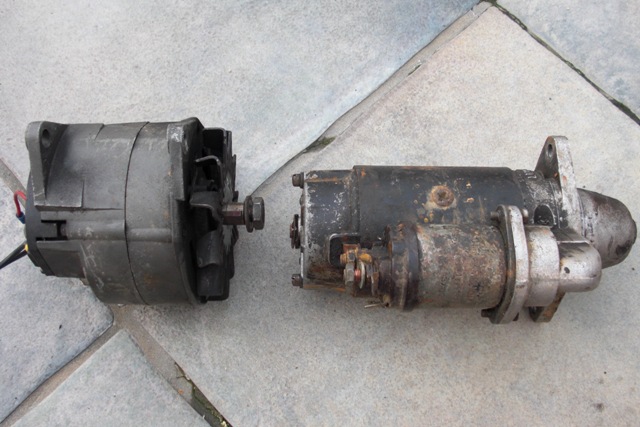
The old starter and alternator assemblies off the car and ready for replacement.
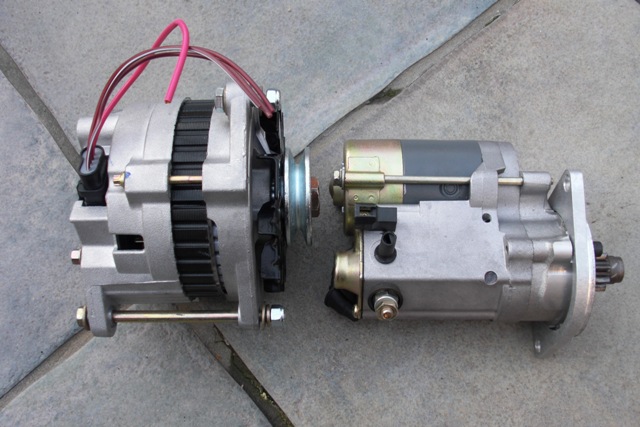
The new ancillaries ready to go back in. I hope they perform as good as they look!
The old starter and alternator assemblies off the car and ready for replacement.
The new ancillaries ready to go back in. I hope they perform as good as they look!
Subscribe to:
Posts (Atom)