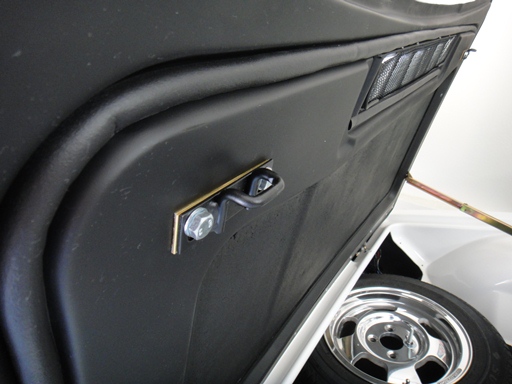
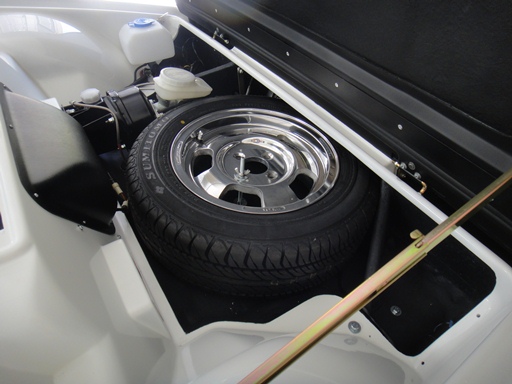
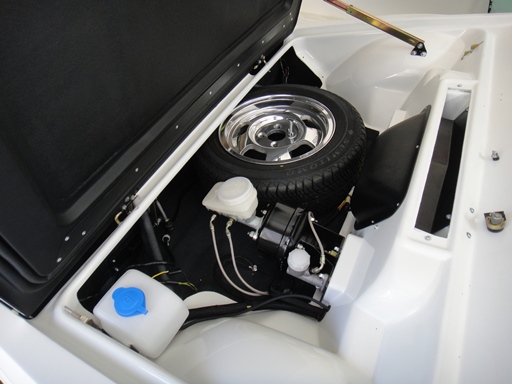
The front ‘boot’ section of the S1 Lotus Esprit was never finished quite right from the factory. Even on the best of cars straight from the factory, the finish of the fiberglass was pretty rough looking. When the car was being prepared for paint, I spent some time evening out areas where there were major imperfections like air pockets, delaminated fiberglass, dry matte in areas, etc. After the car was painted, I re-masked the area and had it sprayed with the same ‘Line X’ type coating that I finished the wheel wells with.
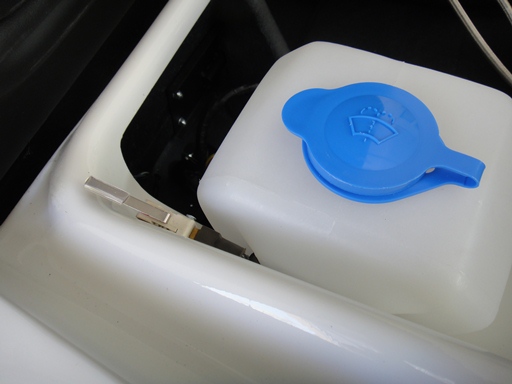
From there everything started to go back in, starting with the brake and clutch cylinders and stainless steel lines to complete the hydraulic systems. Then I wired the cooling fans, turn indicator and fog lights, headlights and headlight motor, as well as secured the relays, wiring and grounds. I installed a new windshield washer bottle as well as the ‘hood release’ micro switch that sits just above it. The last step was to re-install the spare wheel and tire, where I fabricated a new mounting bracket that makes it easier to remove everything when I need to. It’s looking pretty good now!
Thursday, October 25, 2012
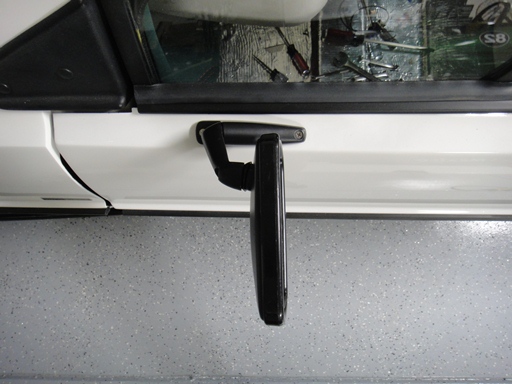
Sourcing the Original Lotus Esprit S1 Door Mirrors
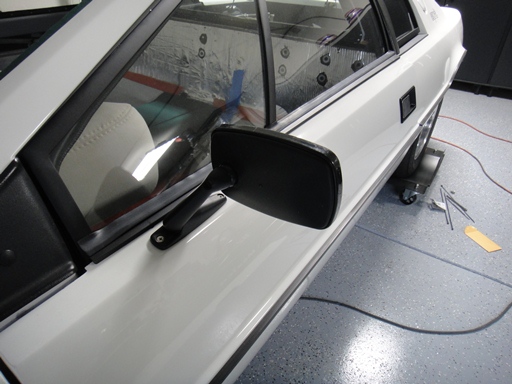
The Raydot mirrors used on the S1 Lotus Esprit are hard to come by, mostly because they were used on the S1 and a few other cars equally as rare. After a long search I was lucky to find a decent pair on eBay and grabbed them quickly. After a little work to bring them back to life, I installed them back on the car to complete the job.
Sunday, February 5, 2012
Restoring the S1 Lotus Esprit Steering Wheel
As my S1 Esprit originally had a brown marcasite interior, the steering wheel itself was wrapped in a brown material. I had the steering wheel re-covered in black leather to match originality (at least from the perspective of the S1 Esprits with green/tartan/orange). I am still hunting for the foam “Lotus” center button, but hopefully I’ll have some luck finding a replacement or I’ll simply fabricate it from the old one.
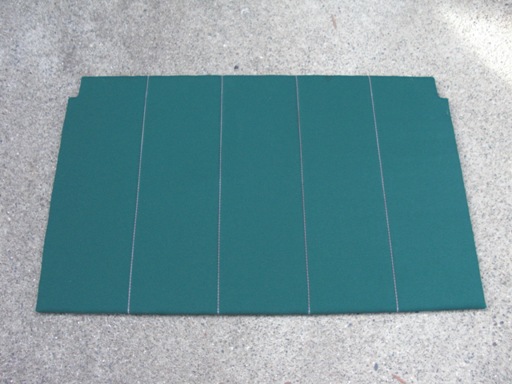
Fabricating the S1 Lotus Esprit Headliner & A-Pillars
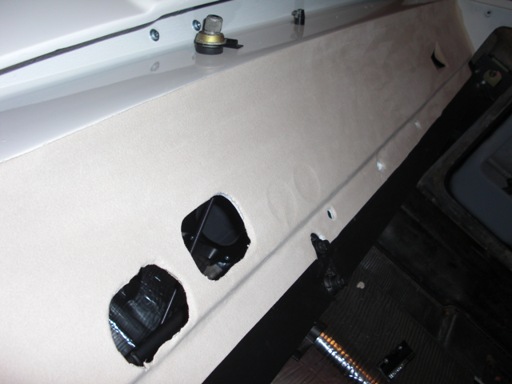
My Esprit didn’t have a headliner as the previous owner had removed it and glued in a new section of material directly to the roof. The material had expired over time, so I had to scrape and pry it away in order to have a clean surface to adhere the new section. Once removing the old material, I cut a template using contact paper and then sent it to a plastics fabricator that cut a section from 1/8 thick ABS. From there it was sent to the upholsterer and covered. We were careful to match the original stitch pattern, as well as use the correct color thread. The A-Pillars were also covered at this stage as well as the firewall trim behind the seats. Next up are the door cards, center console, and intermediate dashboard.
Sunday, January 22, 2012
Starting to Re-trim the Interior Pieces
I’m excited to be transitioning to the interior work. In my opinion, the original S1 Esprit interior (green/tartan/orange) was absolutely stunning and perfect for the time period in which the car was delivered. I’m looking forward to replicating originality as reasonably as possible having purchased “old stock” material from England and working with a local re-trimmer that is well skilled for the job.
The first pieces to come back were the instrument binnacle and the steering column cover, which I had covered in light grey Alcantara. The pieces were originally painted grey (no fabric), so my approach is a small deviation from original but I think the result will look better and stand up better to the elements. So far so good!
Sunday, January 15, 2012
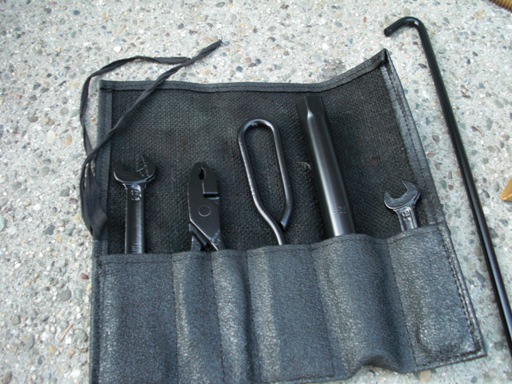
Restoring the Original S1 Lotus Esprit Jack & Tool Set
Even though the original S1 Esprit tool set is completely useless if the car ever breaks down (just two wrenches and pliers!), it was still nice to have the original tool and jack set. After sending all the pieces out to get re-coated and plated, the end result came out as good as original. I’ll carry a full arsenal of tools with me when I finally get the car back on the road.
Starting the Monumental Task of Restoring the Lotus Esprit S1 Interior
The original Esprit S1 interior was very fragile. Most of the pieces are held in with glue, clips or wood screws, meaning that most of the interior bits either work themselves free, break, or rattle themselves to death over time. Since I’m starting from a clean slate, I hope to fix or improve the majority of interior issues that plagued early S1 Esprits.
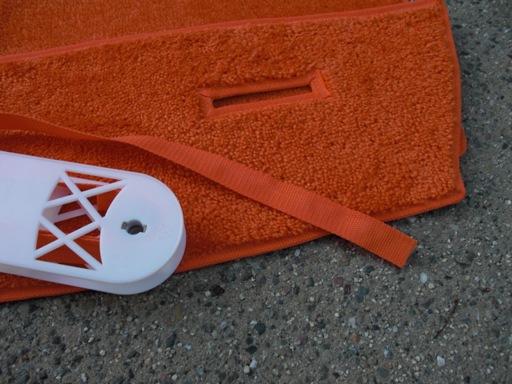
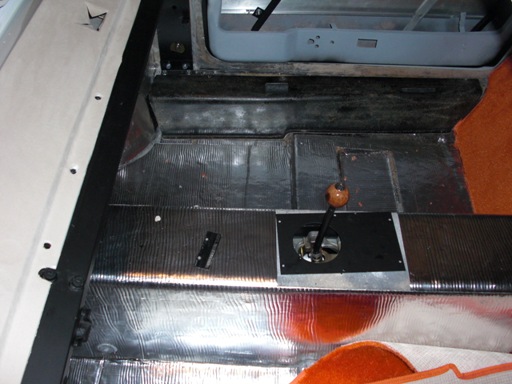
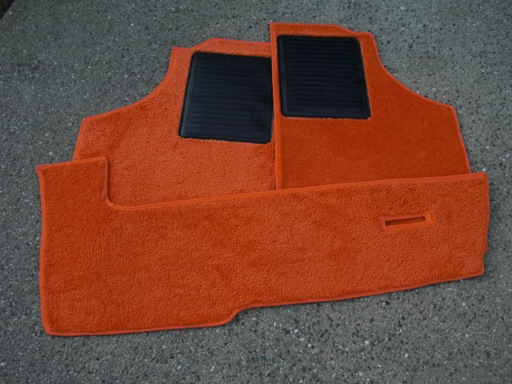
The first step was to cut patterns and install the heat shield and sound deadening material so the cockpit will be quiet and cool. From there I cut patterns for the carpet (14 pieces in total) from scratch. It was a long process!
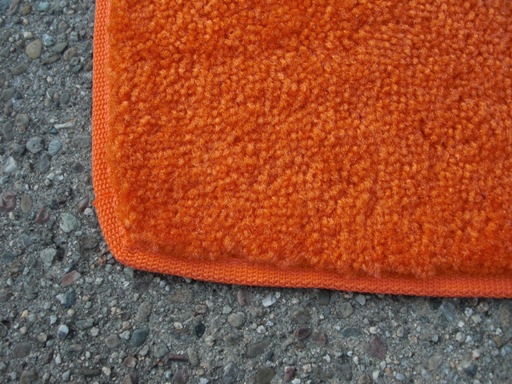
I matched the original carpet color as best as possible - in the end bright orange trade show carpet was the best match and a 10 x 10 piece was enough for the job. Since trade show carpet is usually only used once before being thrown away, there are different grades available. Get the best you can as the cheap stuff is really bad.
After cutting the carpet patterns I searched for the binding material, then sent all the pieces out to be bound. The end result looks pretty good!
Lastly, I lined the top of the dashboard with grey Alcantara, which is a suede-like material resistant to UV and fading. I know the original S1 Esprits used grey paint on the dashboard and binnacle areas, but I am opting for the Alcantara as I think it will look better. Time will tell!
Subscribe to:
Posts (Atom)