Monday, December 13, 2010

Restoring the Lotus Esprit S1 Heater Box Assembly

The Lotus Esprit heater box is a typical British unit. With the condition of the rest of my cooling system (completely corroded, blocked with deposits, etc.), I knew the heater core needed to come out and be inspected. The core itself was completely blocked, so I had it chemically cleaned and pressure tested.

The insulating foam on the outside of the box had deteriorated, as well as the weather strip inside the box where the vent doors open and close. After having the box assembly and vent doors powder coated, I replaced the foam and weather strip where necessary and re-assembled everything.

It’s a job worth doing when the car is apart given that it’s impossible to access the heater box with dash and steering column installed.


The front of the heater box mounts to the fan assembly. All the sealing and insulation foam had to be replaced.


Since the heater core needed to come out, everything was disassembled.


The heater core restored and re-foamed.


The heater box skeleton powder coated and ready for the internals.


One of the heater vent flaps finished with new weather stripping.


The completed heater box unit. Job done!

Rebuilding the S1 Lotus Esprit U-Joints

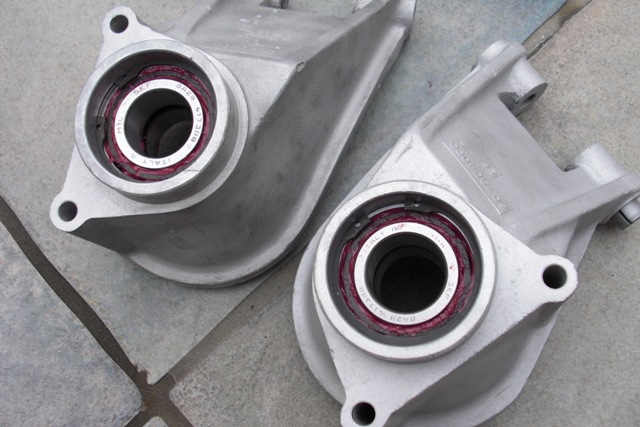
The first step in rebuilding the S1 Lotus Esprit u-joints is to remove the entire unit from the car (half shaft with stub axle). It would be nice if this process were easy, but given that the half shafts are heavily stressed, the stub axle usually ends up welded inside the rear wheel bearing, meaning you can’t just slide them out.

After hours of time with a hammer, I realized that the only way to withdraw the stub axle would be to use a press. About 1.5 tons later, they came out of the wheel bearing and now I could start the rebuild process. Removing the old u-joints is easy albeit a messy job. It’s a good idea to keep a few of the old u-joint grease seals if they are in good shape as I ruined a few of the new ones when pressing the bearing back in.

After everything was apart, I opted to have my half shafts powder coated and the stub axle and gearbox connecter zinc plated. Installing the new u-joints took me a full-day and it’s not something I look forward to doing again (although I know I’ll have to after about 20K miles!). The bearings don’t press in easily, it’s hard to make sure none of the rolling pins become un-seated, and it’s easy to destroy the new grease seals. When putting everything back together, you have to be extremely patient.

This was an exciting step in the restoration process because it means I can now mount the rear uprights and suspension and get the Esprit back on four wheels.


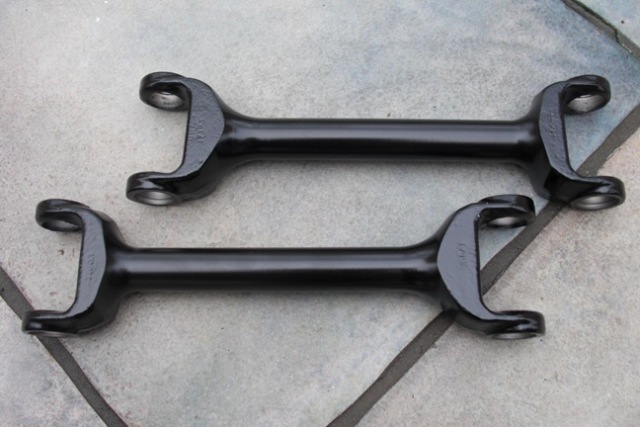
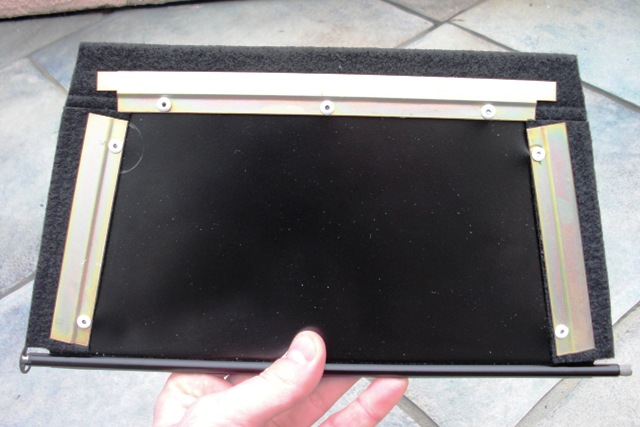
The powder coated halfshafts, ready for new u-joints.


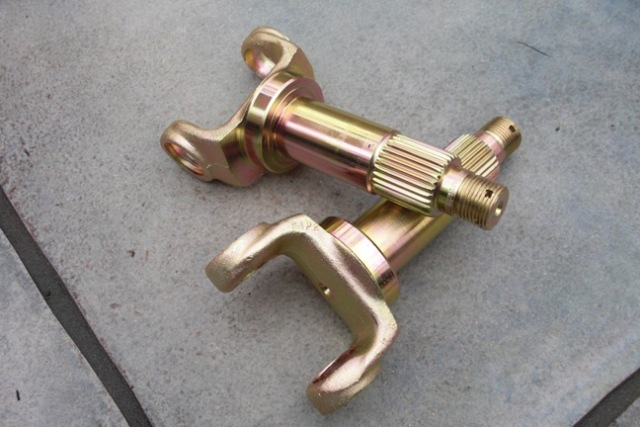
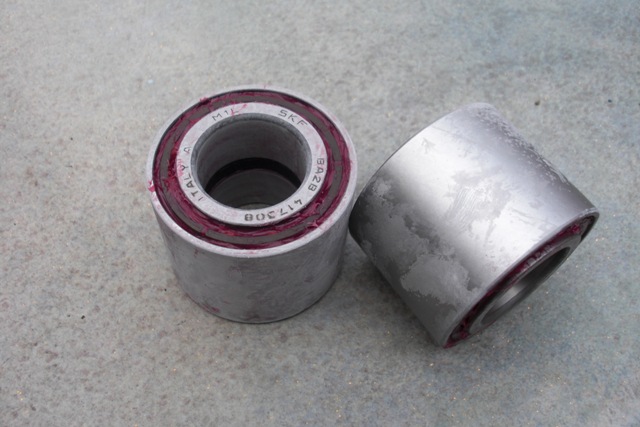
the freshly plated stub axles in yellow zinc chromate.


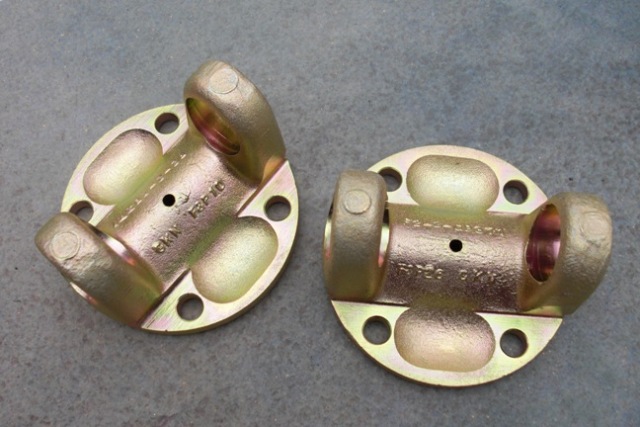
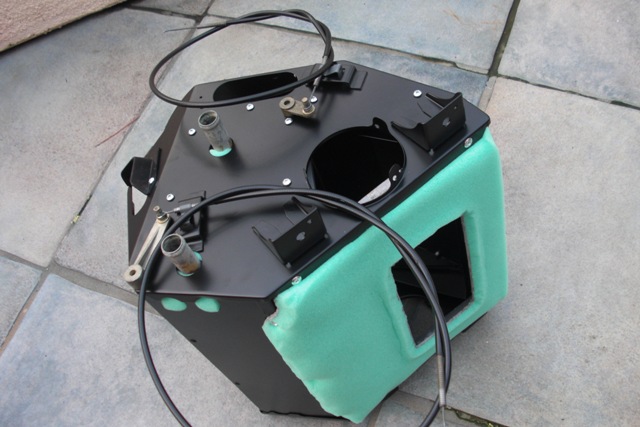
The halfshaft gearbox mountings also received yellow zinc chromate.


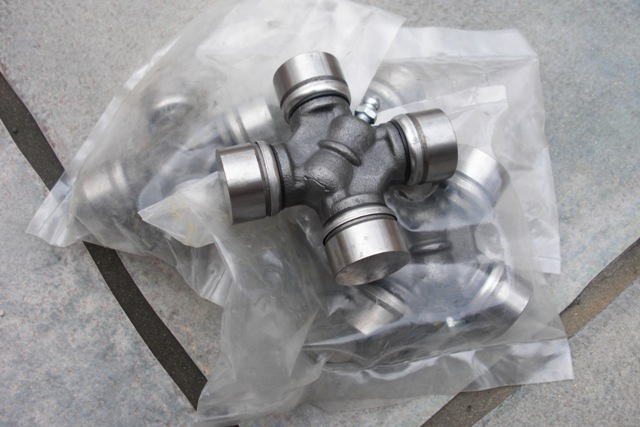
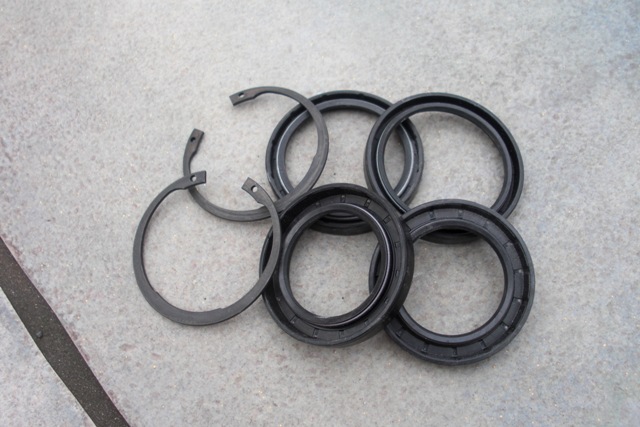
Four new sets of ujoints, ready to install.


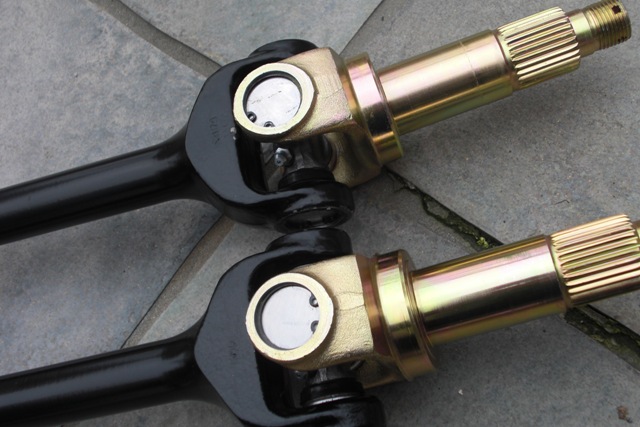
The completed stub axle assembly.


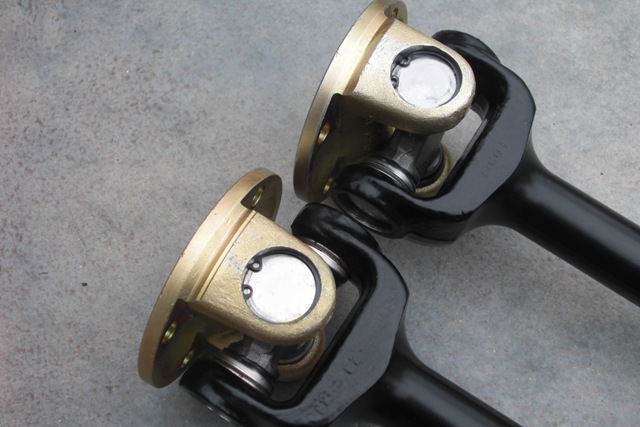
The completed gearbox mounting assembly.
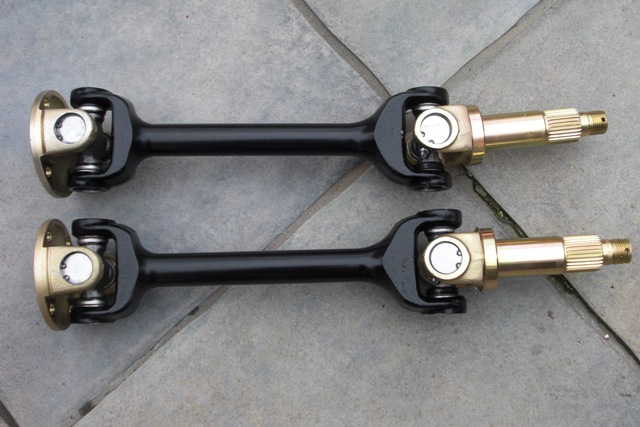

Jobe done!

Restoring the Lotus Esprit S1 Rear Hub Carriers, Replacing the Rear Wheel Bearings

Replacing the rear wheel bearings on an S1 Esprit is easy as long as you have a press. I removed the entire hub carrier assemblies from the car (including stub axle, half shaft and u-joints) and took them to a shop to have the stub axles pressed out of the bearings (no, they won’t come out any other way). After the stub axles were out, I had the bearings pressed out too.

I had the hub carriers walnut blasted to restore their original appearance, and ordered a set of bearings and new grease seals.

Since the bearings didn’t slide back into the hub carriers, I froze them overnight and heated the carriers to 300F in my kitchen oven and then the bearings simply fell in without effort. After replacing the c-clip to anchor them in, the job was done!


The empty rear hub carriers after being media blasted. They will never look this clean again!


The frozen wheel bearings ready to drop in.


New seals and c-clips, ready to install.


Job done!