Overhauling the crossgate assembly and all the linkage was pretty straightforward. The job required removing the shift arms (there are 4 of them), the crossgate cable, and the actual crossgate mechanism that bolts into the chassis. I powder coated the arms and re-installed new rubber/plastic bushings. I debated on purchasing a new crossgate cable since mine was a little old looking but decided against that. They are expensive and mine was in great working condition, so I simply re-used it. Once the engine and gearbox are installed, I’ll be able to connect the cables and be ready to go.
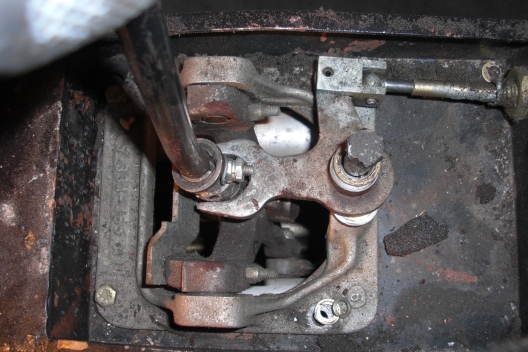
What the crossgate assembly looked like before removing it from the car.
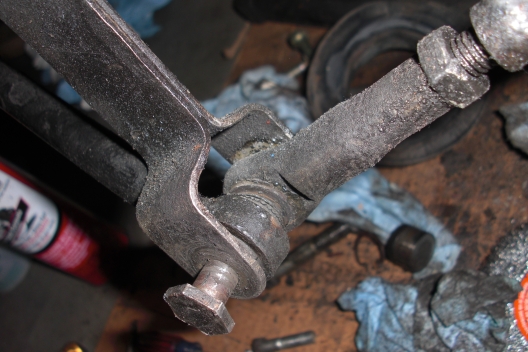
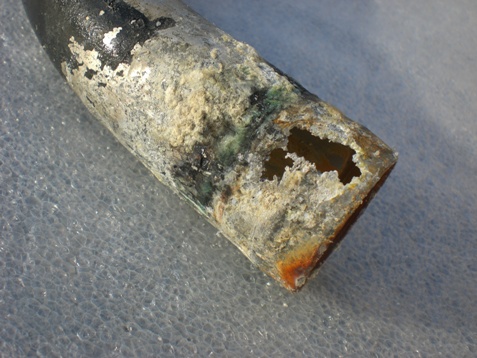
The connector arms before being removed from the car. Not in the best
condition!
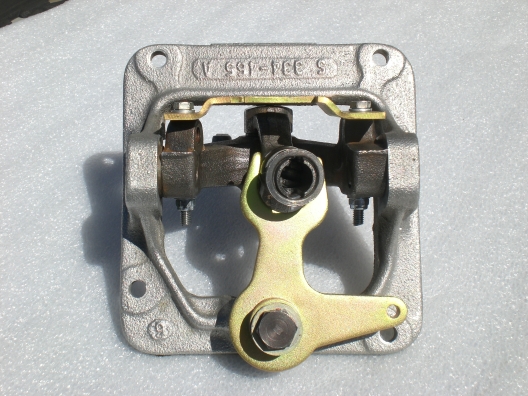
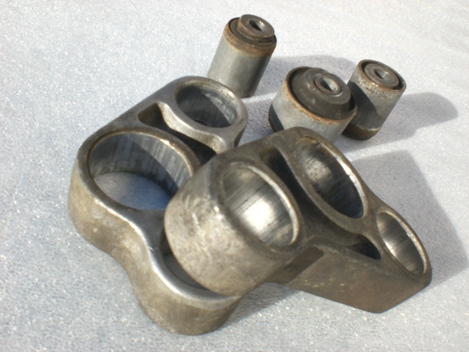
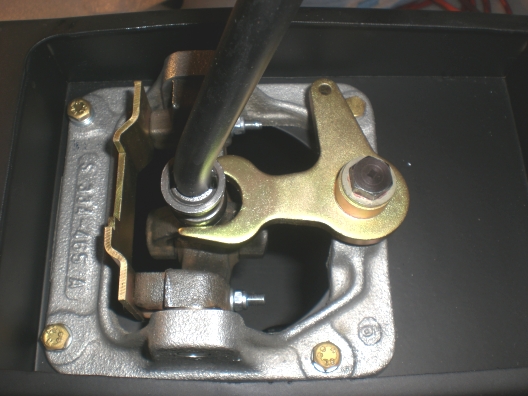
The crossgate assembly after a good clean and with the plated parts.
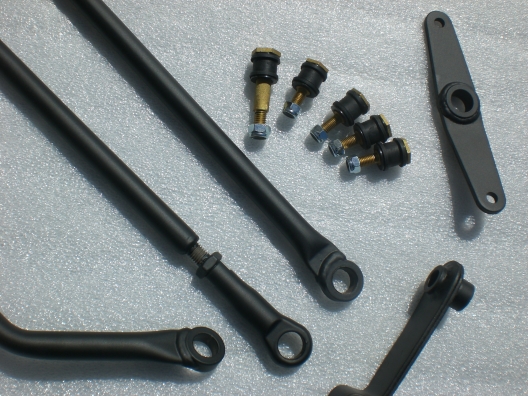
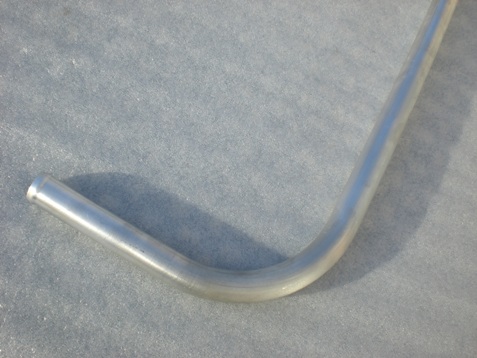
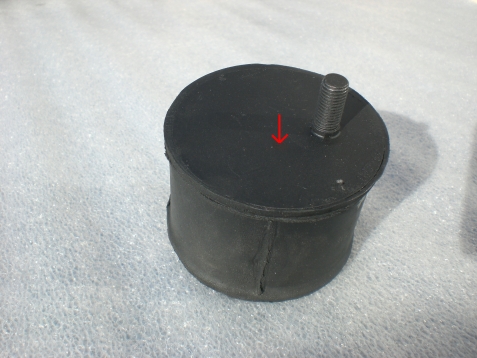
Powder coated shift arms ready for the new rubber/plastic bushings.
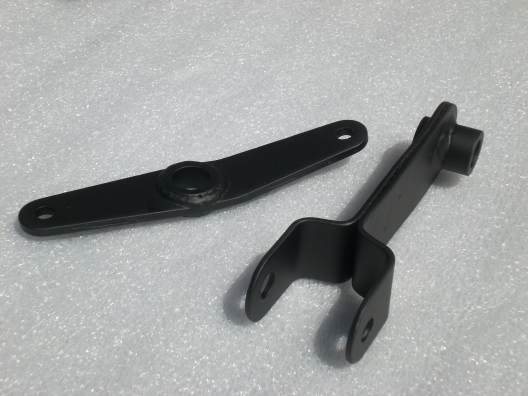
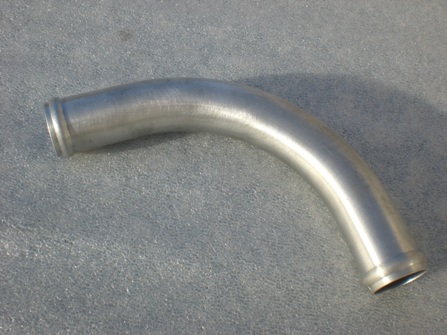
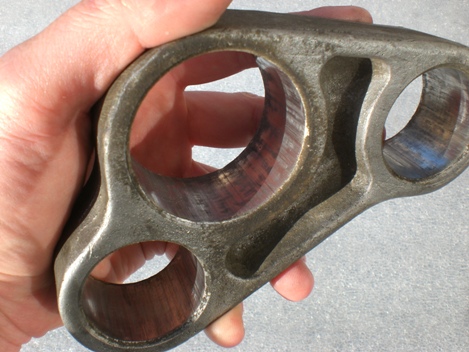
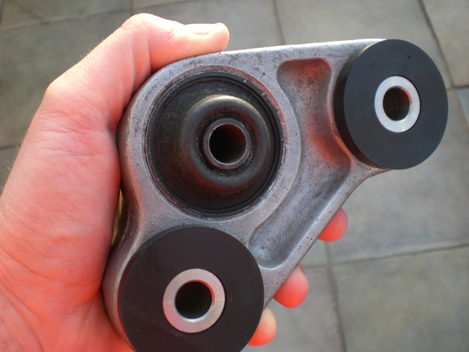
The connector arms ready to go (one bolts to the gearbox and one bolts to
the inside of the chassis.
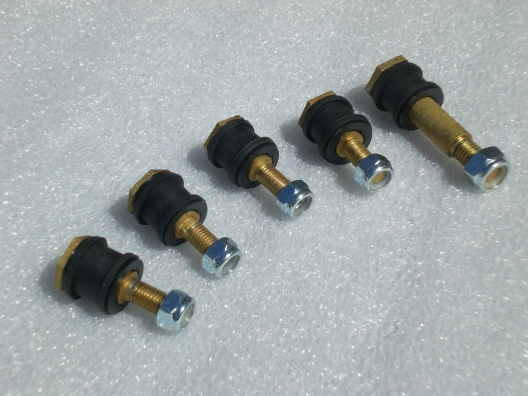
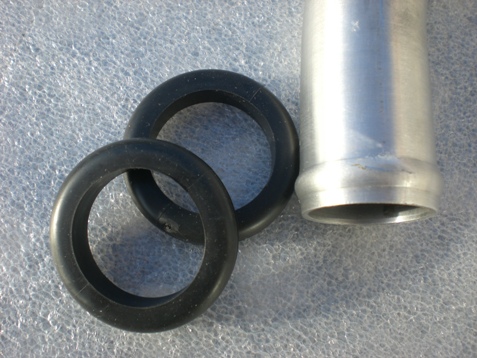
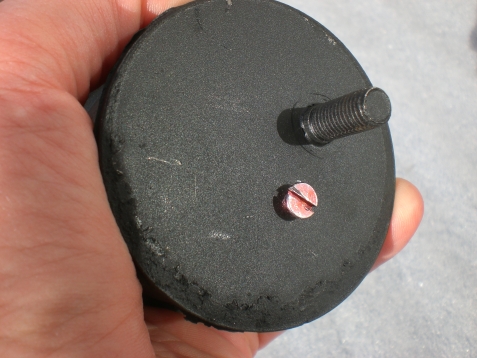
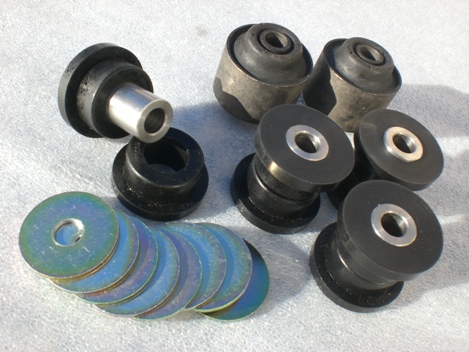
Yellow zinc plated bolts and new rubber/plastic bushings.
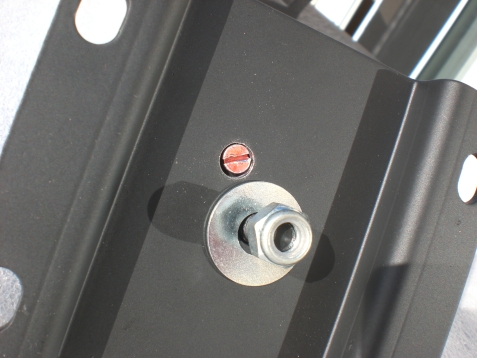
Job done!