Saturday, September 10, 2011

Paintwork is Done – Lotus Esprit S1 in Monaco White

After several months and hundreds of hours, it was a great feeling to see the car painted, clear coated, and polished. Every visible inch of the car was wet sanded and polished, leaving no orange peel and an excellent finish. The wheel wells were re-undercoated as well as the front boot area with a heavy material resistant to vibration.

My goal was to get the body in better condition than my S1 Esprit left the factory in 1977, and because I spent dozens of hours reinforcing areas that were previously prone to stress cracks and spider webbing, my hope is that it stays that way for a long time.


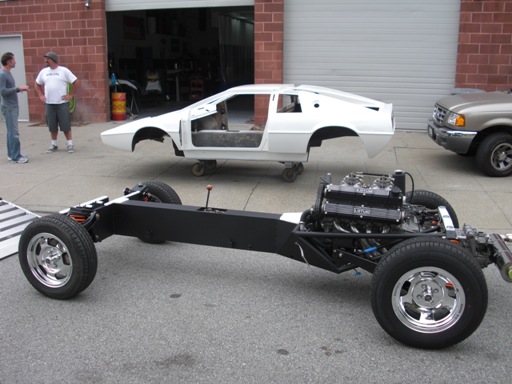
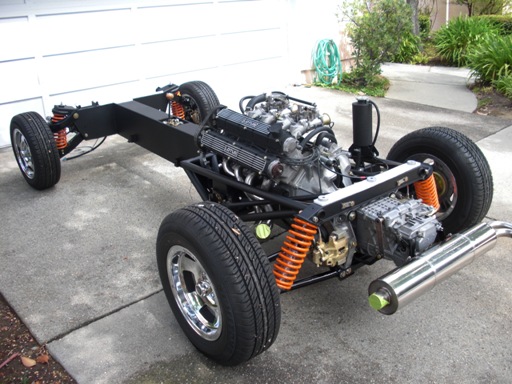
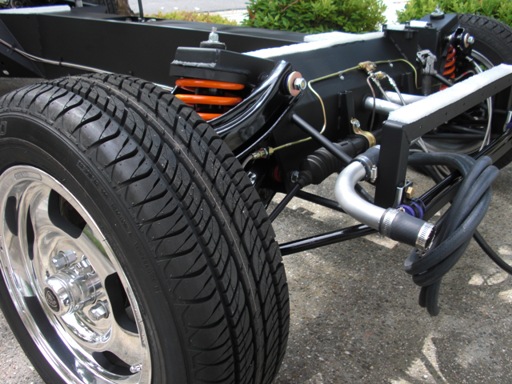
A pretty cool shot of the body shell and chassis. With the help of three guys
it was back onto the chassis.


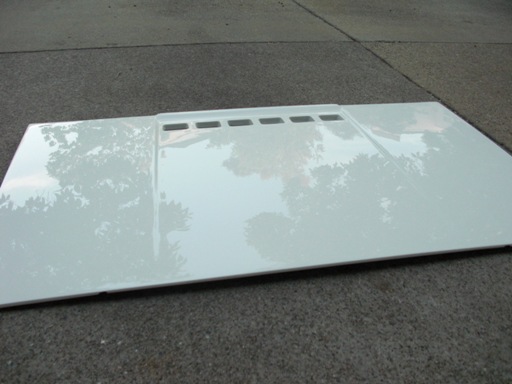
The front hood required a lot of work to ensure a completely flat surface.


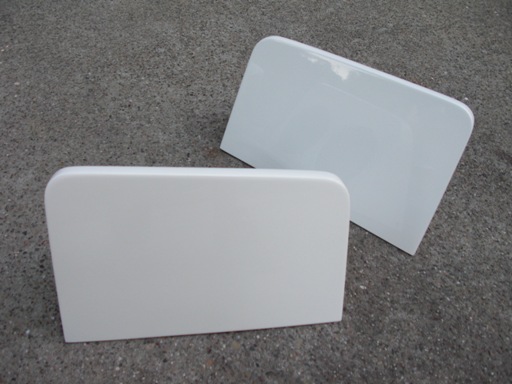
A finished set of S1 Lotus Esprit headlight pods.


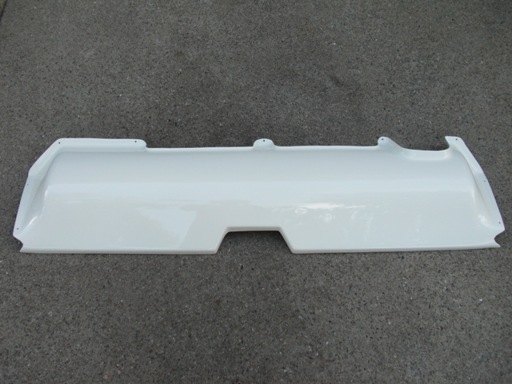
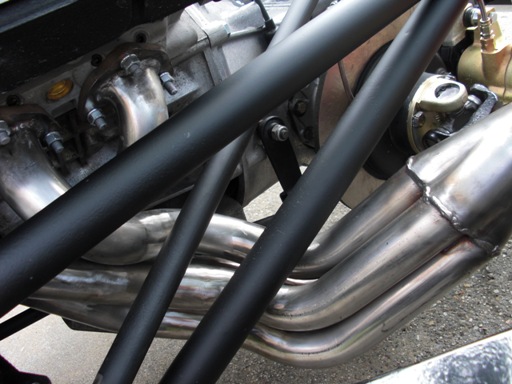
The original rear valances were too thin and prone to being ripped apart
by the exhaust system behind it. My new rear valance was reinforced with
several layers of fiberglass to make it stronger.


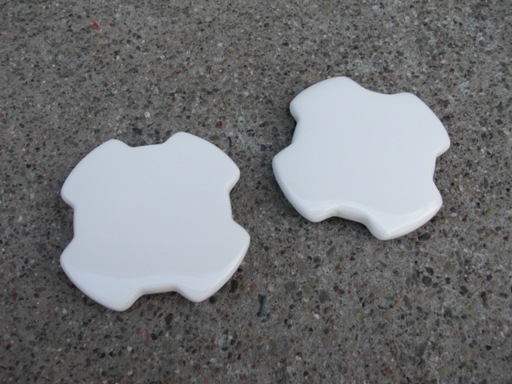
Even my fuel caps needed repairs. There were hours in these alone.


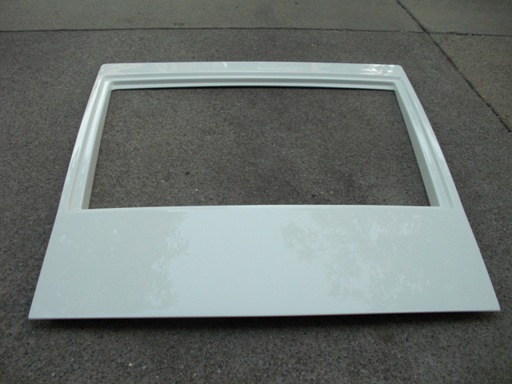
A nice shot of the S1 rear hatch, which is pretty light without the glass!


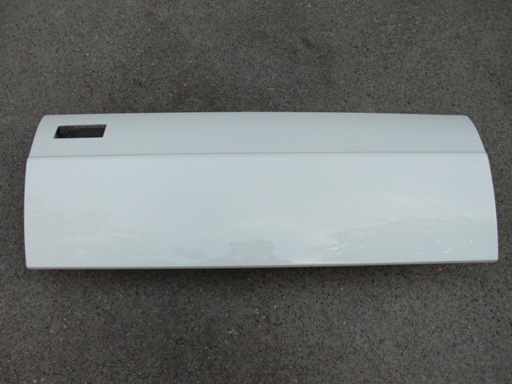
One of the empty door shells. A lot of work ahead to get these back onto
the car with all the door internals.


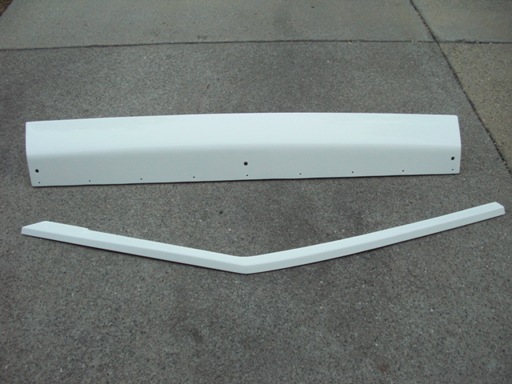
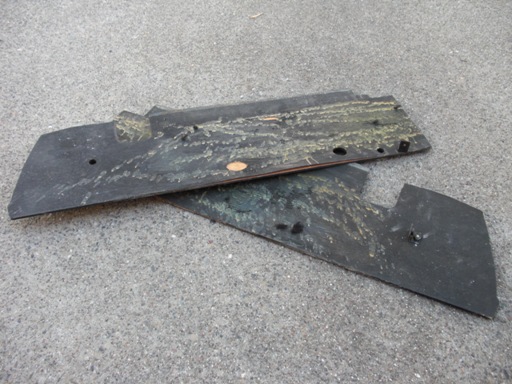
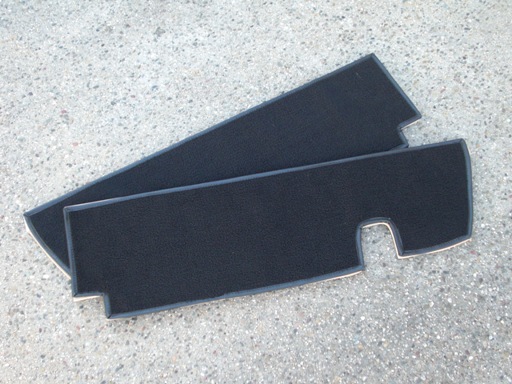
One of the rocker panels and door trim pieces, ready to rivet back onto
the body.

Fabricating the Lotus Esprit S1 Engine Carpet Boards

The S1 Esprit came from the factory with a set of plywood carpet boards to cover various areas of the engine bay. Since you can see the majority of the engine compartment through the rear hatch, the carpet boards keep everything tidy by covering items like the fuel tanks, electrical wiring, fuel pump, and some of the smog equipment.

My carpet boards were in bad shape - completely delaminated after 30+ years of constant heat and moisture cycles. The carpet was past its lifespan too, so I would need to replace everything. If you do the job yourself as opposed to ordering new parts from England, it’s a very time consuming job as there are several steps.

Fortunately for me, the wood was in good enough shape to take patterns from and that saved me a lot of time. I traced the pattern onto new boards, then cut them out with a jigsaw. Some of the boards had access holes for electrical wiring and fuel hoses, so I made sure to replicate those too. From there, I ordered a roll of black automotive carpet and then traced the patterns from my freshly cut boards, getting them bound around the edges with black leather trim.

The next step was to spray the exterior of the boards with black paint as to blend with the color of the carpet. From there, I glued the carpet to the boards and then re-attached new “L” brackets to fasten the boards back into the car.


Some of the old carpet boards. The de-lamination was bad and they
were falling apart. Time to replace.


Two of the new carpet boards which cover each side fuel tank.


The remaining carpet board pieces cutout and ready for carpet.


The side fuel tank boards after overlaying the new carpet sections.


Getting closer at this point. I just needed to paint the boards black
and glue everything down.


There were a lot of pieces and a lot of steps. This took forever!

S1 Lotus Esprit Rolling Chassis is Complete

After the body was sent out to be painted, I had a few weeks to complete the rolling chassis, spending time to ensure that everything was fastened correctly.

After a thorough “nut and bolt” of the car, I took dozens of photographs to remember what it all looks like. Once the body is back on the car, it's a shame that 90% of the chassis will never be visible again.