Thursday, December 29, 2011

Attaching the European Rear Valance and Bumper

The S1 Lotus Esprit had two styles of rear bumper/rear valance depending on which region of the world the car was delivered. The USA cars had a less desirable style thanks to the Federal bumper regulations back in the day. The bumpers were enormous – so big that it makes the car look out of proportion. The EURO style is by far a better looking option in my opinion so I opted to replace all the old pieces with new bodywork sourced from England.

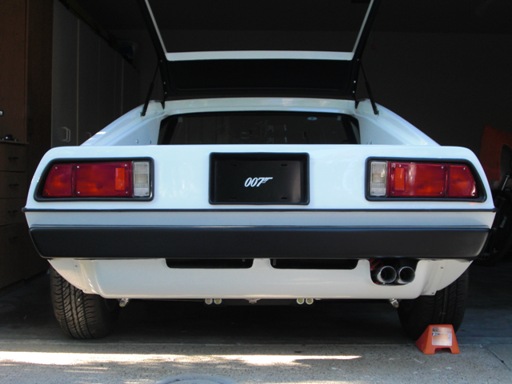
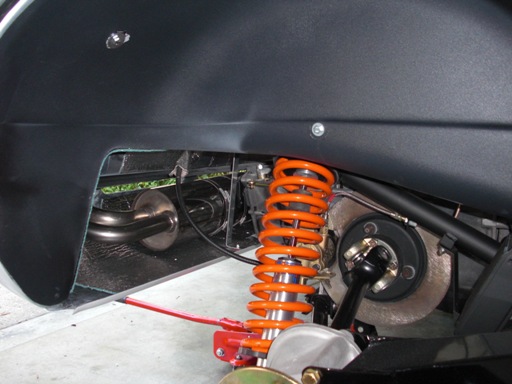
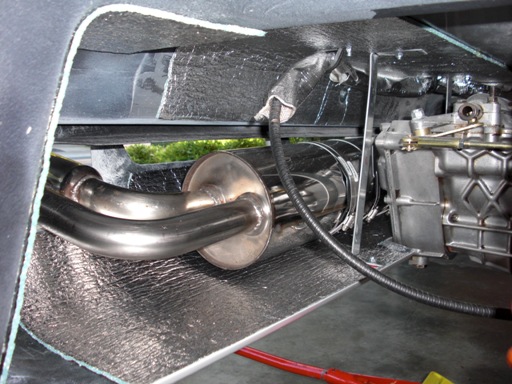
This introduced several problems though as the EURO bumpers and valance were not designed to bolt directly up to the USA spec body. The solution was to re-work the rear bumper mounting points, fabricate additional support mounts for the rear valance and buy a EURO spec silencer mounting channel (yes, there was a different style for US cars!!) as it makes the exhaust sit higher and clear the opening for the exhaust pipes. At the end of the day, it was really expensive and time consuming to change a USA car over to EURO spec. Hopefully the end result will be worth it!

Applying the Waistline Trim

The Lotus Esprit has a seam at its centerline where the two fiberglass halves were bonded and glassed together at the factory. A set of plastic trim covers the seam and surrounds the entire car. Having removed mine when I started the bodywork, it was time to re-apply the new trim sections. The material was easy enough to apply using a heat gun and the right compound of glue. In all it’s a full-day job to cut, align, and bond the trim. You can’t get it wrong because if you need to pull the waist trim off the car once the glue dries, it usually takes the paint with it.


Restoring the Lotus Esprit Engine Bay Cover

Although I’ve never been a big fan of the early Esprit engine cover (it looks a lot like Lotus ripped it off an old vintage boat!), it’s another piece that had to be restored. I sanded down the exterior, fixed some stress cracks, and painted it using standard Detroit automotive primer (the stuff they primer modern US cars with). It’s a semi-gloss black – the same color I used to spray both the front and rear bumpers.

The back of the engine cover was cleaned and then I re-applied a layer of heat shielding material to replace the old. The new mounting fixtures were powder coated and re-applied. The edge seal was replaced with a 1991 BMW E30 trunklid seal. It had almost the same dimensions and fit perfectly, and a lot cheaper than sourcing it from England.


Finishing the Underside of Engine & Exhaust Area, Wheel Wells

After the body was painted, there was still a lot of work in finishing the wheel wells and the top side of the exhaust channel. I replaced all the old heat shield material with new and finished the wheel wells with a hardened textured liner. The backside of the rear valance was also completed with heat shield material, as well as extra mounting hardware to keep it fixed to the body.