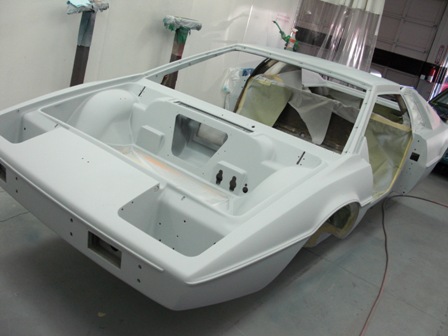
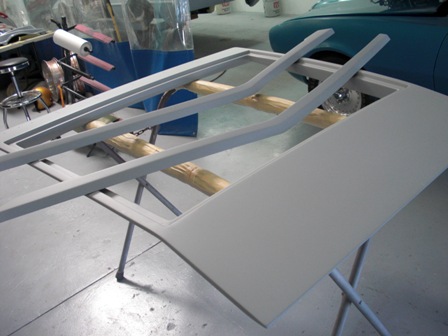
To those who have undertaken projects like this, the “primer” stage of the car represents a big win as the hard work in the body prep process is done and you can finally get on with painting the car. In all it took four months to fix the stress cracks and spider webbing, fill the pinholes and smooth out the areas of the gelcoat that were originally flawed.
Every inch of the car was looked after - even the wheel wells and chassis tunnel were stripped of the old undercoating, prepared and cleaned prior to this stage of the process.
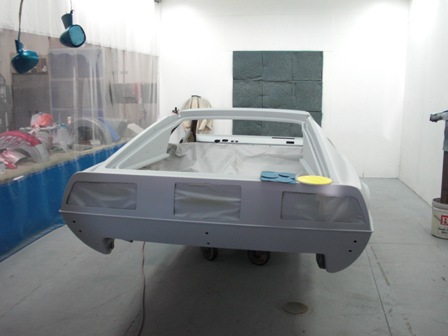
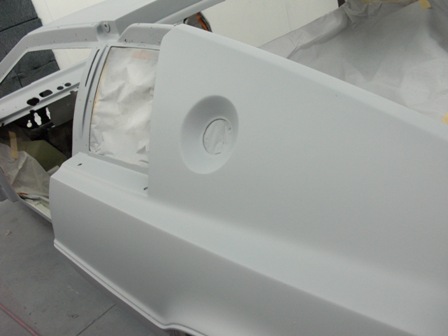
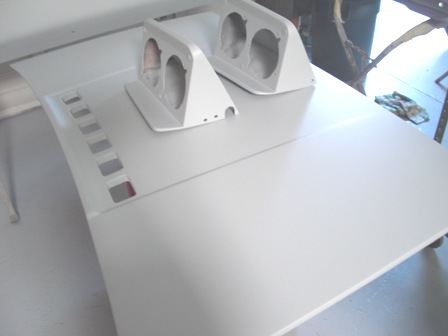
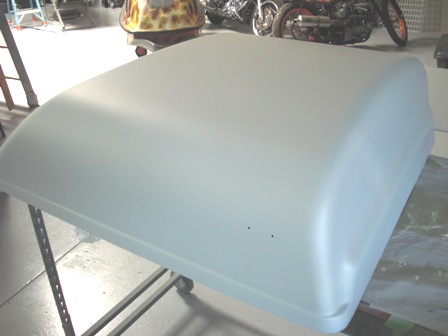
The primer sealer was sprayed in multiple coats and a final guide coat revealed that all of the panels (especially those with large flat surfaces like the front hood and doors), were perfectly straight. The car will be painted in two stage paint (Glasurit), in Monaco White, then wet sanded and polished. There are still many days ahead of work ahead but the end is near!
Every inch of the car was looked after - even the wheel wells and chassis tunnel were stripped of the old undercoating, prepared and cleaned prior to this stage of the process.
The primer sealer was sprayed in multiple coats and a final guide coat revealed that all of the panels (especially those with large flat surfaces like the front hood and doors), were perfectly straight. The car will be painted in two stage paint (Glasurit), in Monaco White, then wet sanded and polished. There are still many days ahead of work ahead but the end is near!


Hi Renn,
ReplyDeleteIt's all looking good,
I'm still trying to find your chassis number, maybe it's lost for good now.
The three digits of the chassis would have been on many panels, frame post, sills, under the bonnet between the light pods. Please see if their's any numbers their.
Cheers
Steve
bibster@LotusProject.co.uk
www.LotusProject.co.uk
I have it, just didn't know where it was! Sorry for the delay - please check your email.
ReplyDeleteHi Renn, I just came across this looking for interior detail shots for a 24th scale S1 kit (like a few other people :-), looks really promising, very pretty car. I bought an SE a year ago and love it to bits, would like to try one of the earlier ones one day... Thanks for sharing!
ReplyDeletehey what bumpers are you going to use? Euro I assume? If so, u will want to drill ur new holes now before final paint....i just switch my S1 from fed to euro and its not quick!! Completely different mounting bolts/methods etc. I elected to mount my front using exisiting fed holes, which meant weding up and glassing in my own brackets. On the rear the euro uses two bolts not eight, in different locations. Lastly, I have sourced some correct aftermarket euro turn signal/lamps. The fed ones bolted in the euro bumper just looks silly...
ReplyDeleteHello mtoo - Yes, I'm using the Euro bumpers. The car is painted (blog post coming soon), but I didn't have the bumpers in time so I'll need to drill the holes. Not a big deal though as I'll probably end up fabricating the mounts on the bumper to fit the existing holes on the body.
ReplyDeleteAnd agreed about the Euro turn signals. I already have a set of those to eliminate the ugly orange ones ;)
Took me time to read all the comments, but I really enjoyed the article. It proved to be Very helpful to me and I am sure to all the commenters here! It’s always nice when you can not only be informed, but also entertained! painting restoration
ReplyDelete